

I used Mini Mogra Rice for this Tomato Rice.
You have read this before. That a Sunday dinner was always a huge 12 litre Tapela of Masale bhat at our home. That Masale bhat meant traditional, non traditional and many times Tomato rice. Ahem, it reminds me of that family that we found amusing as kids because they insisted on calling bhaat, rice. We thought they were vain but the fact was they were in a different state, outside Maharshtra.
Actually somewhere that family has influenced our food too. The Tomato Rice was introduced by them. My Mom made it our own. This is her recipe. Posting it for Sapna, my SIL because my brothers long for it at times.
What I remember is that this recipe was adapted from the recipe book that came along with my Mother's 11 litre Prestige pressure cooker, her first. Probably it was my Mother's first recipe book too. Until then she just had a diary for recipes, she jotted down when friends visited us. Then she started collecting "Diwali Anka"- Diwali special issues of Marathi magazines.
She would first cook the rice in the cooker. Cool and fluff it. Fry the onions-tomatoes to get a gravy and then mix it. I have further made easy the process. I make the gravy first and then add the rice and then pressure cook. I think my method melds flavors better.
Ingredients
4 tomatoes chopped fine
2 onions sliced
3-4 cloves garlic
1 green chili
1/4 teaspoon turmeric
1/2 teaspoon Red chili powder
1/4 teaspoon garam masala
1 cup Rice
1 tablespoon oil
salt to taste
Heat oil in a small pressure cooker. Fry the garlic then add the sliced onions. Add chopped green chilies, follow in with tomatoes. Add the spices. Salt to taste.
Now wash the rice. Stir into the masala. Add 2.5 cups water. Pressure cook for just 1 whistle on slow. Switch off the heat. Cool, open and mix.
Fluff up a bit after cooled and serve hot with Koshimbir.
Tip:
This method works well for upto 2 cups of rice. However if you want to make more then follow my Mom's method. Cook rice first and mix with the tomato gravy as explained above. If cooking more than 2 cups of rice directly in Pressure cooker, there is a chance of the rice becoming soft at the bottom. To avoid that and get uniformly cooked rice, do it in the compartments.


Along with this meal I had served Gokak Kardanth. We loved this chewy sweet. Quite like our Dink ladoo. Lots of Dryfruits. Yes and those of you who know this sweet, it was from Sadanand. I bought it at Total Mall, Madivala. There is a guy at the foot of the escalator who sells Karnataka speciality foods viz Katak roti, kardanth, kunda, chutney pudis etc. Go find him.

Gokak Kardanth
Actually somewhere that family has influenced our food too. The Tomato Rice was introduced by them. My Mom made it our own. This is her recipe. Posting it for Sapna, my SIL because my brothers long for it at times.
What I remember is that this recipe was adapted from the recipe book that came along with my Mother's 11 litre Prestige pressure cooker, her first. Probably it was my Mother's first recipe book too. Until then she just had a diary for recipes, she jotted down when friends visited us. Then she started collecting "Diwali Anka"- Diwali special issues of Marathi magazines.
She would first cook the rice in the cooker. Cool and fluff it. Fry the onions-tomatoes to get a gravy and then mix it. I have further made easy the process. I make the gravy first and then add the rice and then pressure cook. I think my method melds flavors better.
Ingredients
4 tomatoes chopped fine
2 onions sliced
3-4 cloves garlic
1 green chili
1/4 teaspoon turmeric
1/2 teaspoon Red chili powder
1/4 teaspoon garam masala
1 cup Rice
1 tablespoon oil
salt to taste
Heat oil in a small pressure cooker. Fry the garlic then add the sliced onions. Add chopped green chilies, follow in with tomatoes. Add the spices. Salt to taste.
Now wash the rice. Stir into the masala. Add 2.5 cups water. Pressure cook for just 1 whistle on slow. Switch off the heat. Cool, open and mix.
Fluff up a bit after cooled and serve hot with Koshimbir.
Tip:
This method works well for upto 2 cups of rice. However if you want to make more then follow my Mom's method. Cook rice first and mix with the tomato gravy as explained above. If cooking more than 2 cups of rice directly in Pressure cooker, there is a chance of the rice becoming soft at the bottom. To avoid that and get uniformly cooked rice, do it in the compartments.

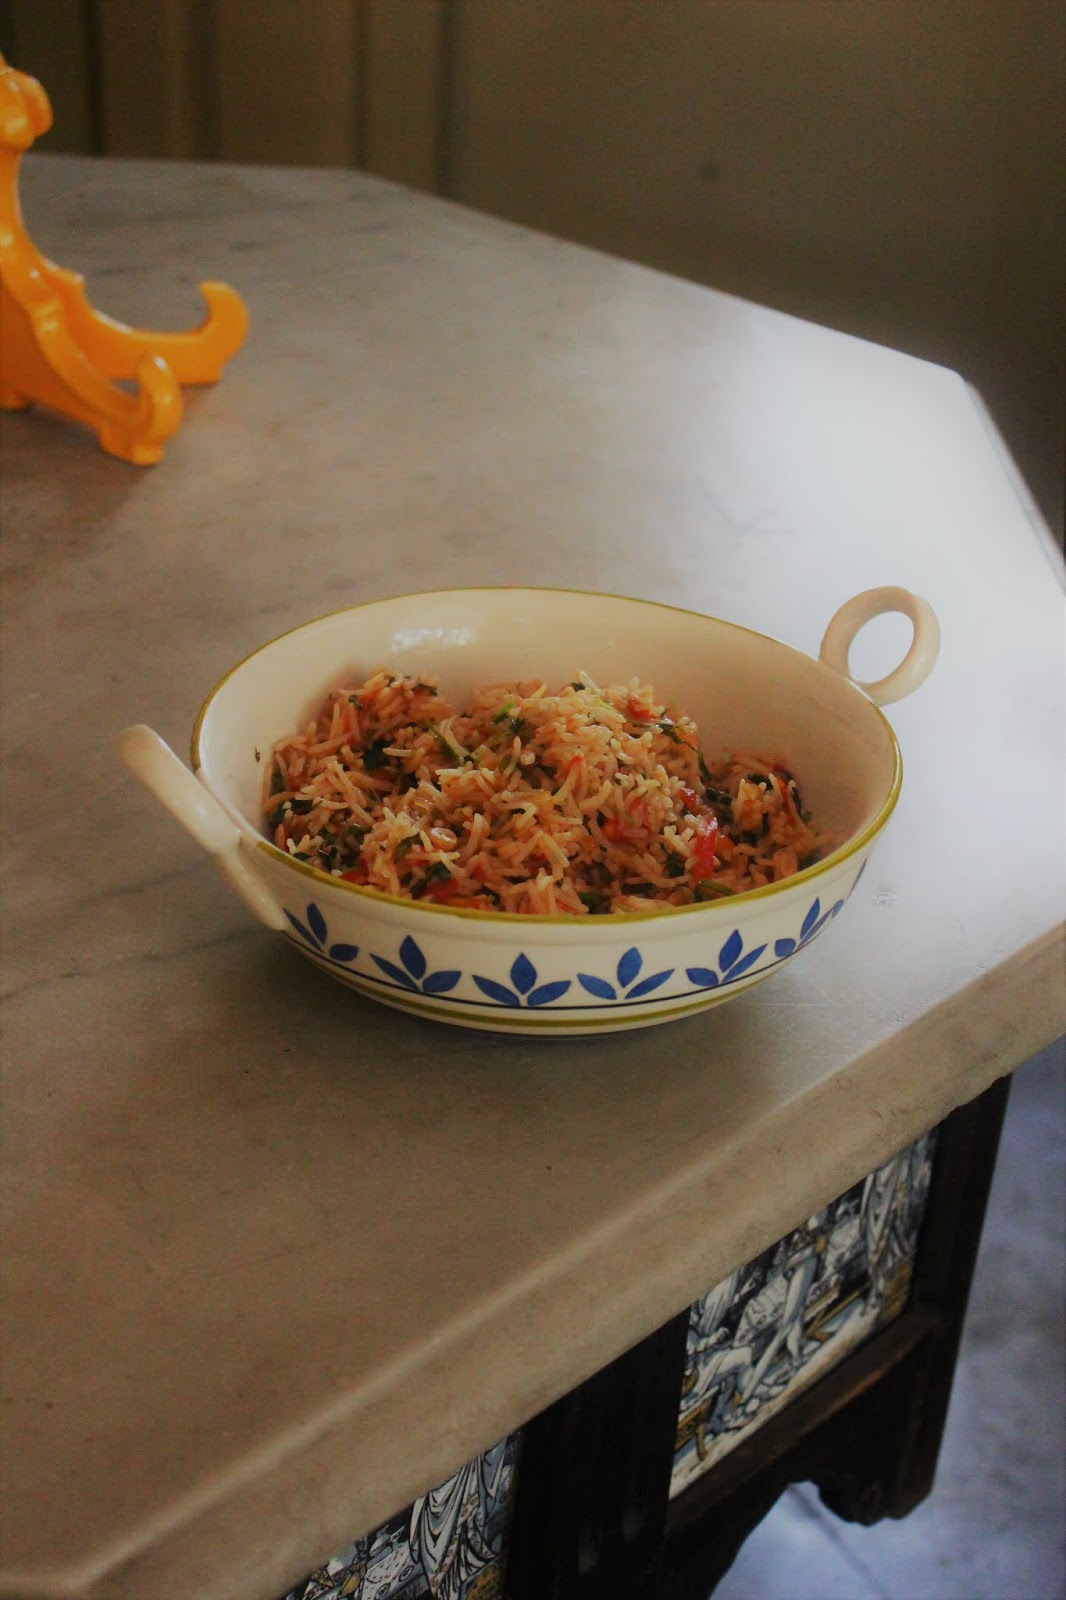
A version with Basmati rice
Along with this meal I had served Gokak Kardanth. We loved this chewy sweet. Quite like our Dink ladoo. Lots of Dryfruits. Yes and those of you who know this sweet, it was from Sadanand. I bought it at Total Mall, Madivala. There is a guy at the foot of the escalator who sells Karnataka speciality foods viz Katak roti, kardanth, kunda, chutney pudis etc. Go find him.

Gokak Kardanth


